Learn more

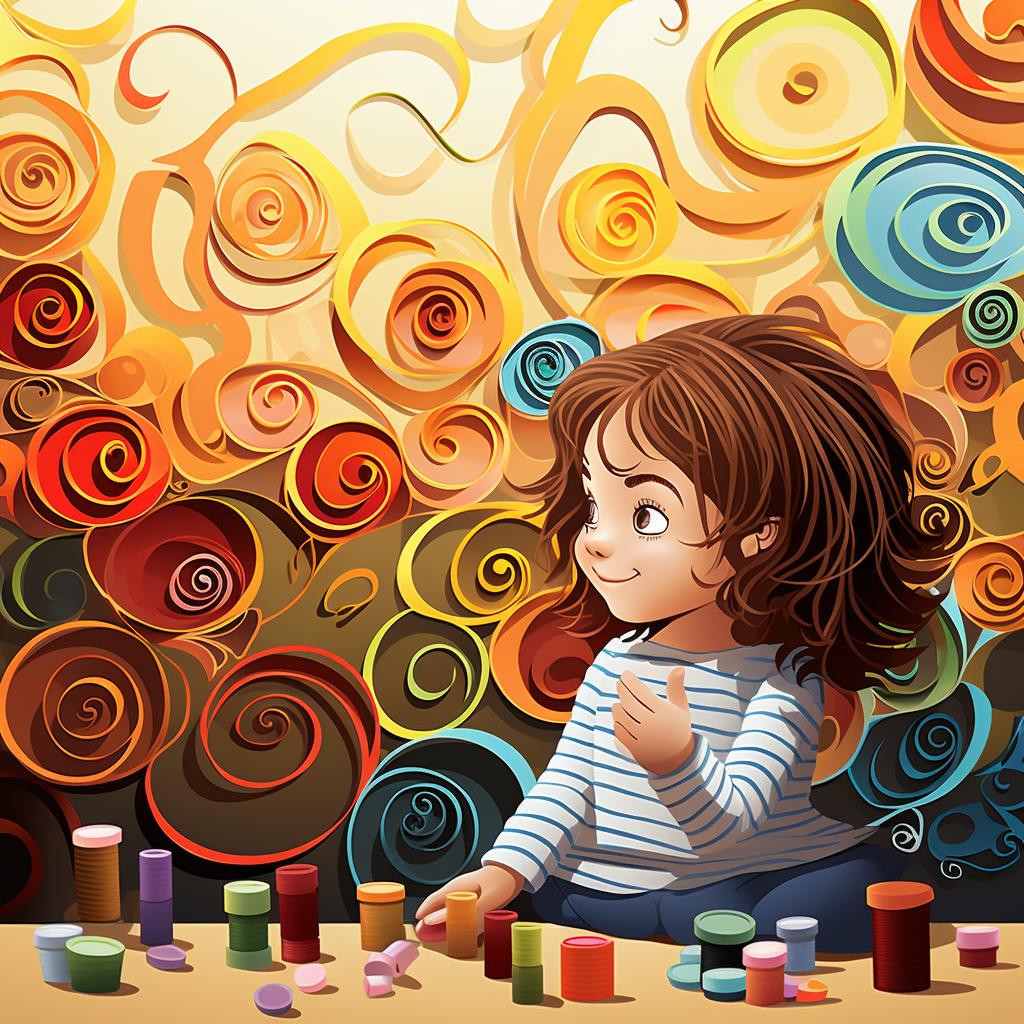
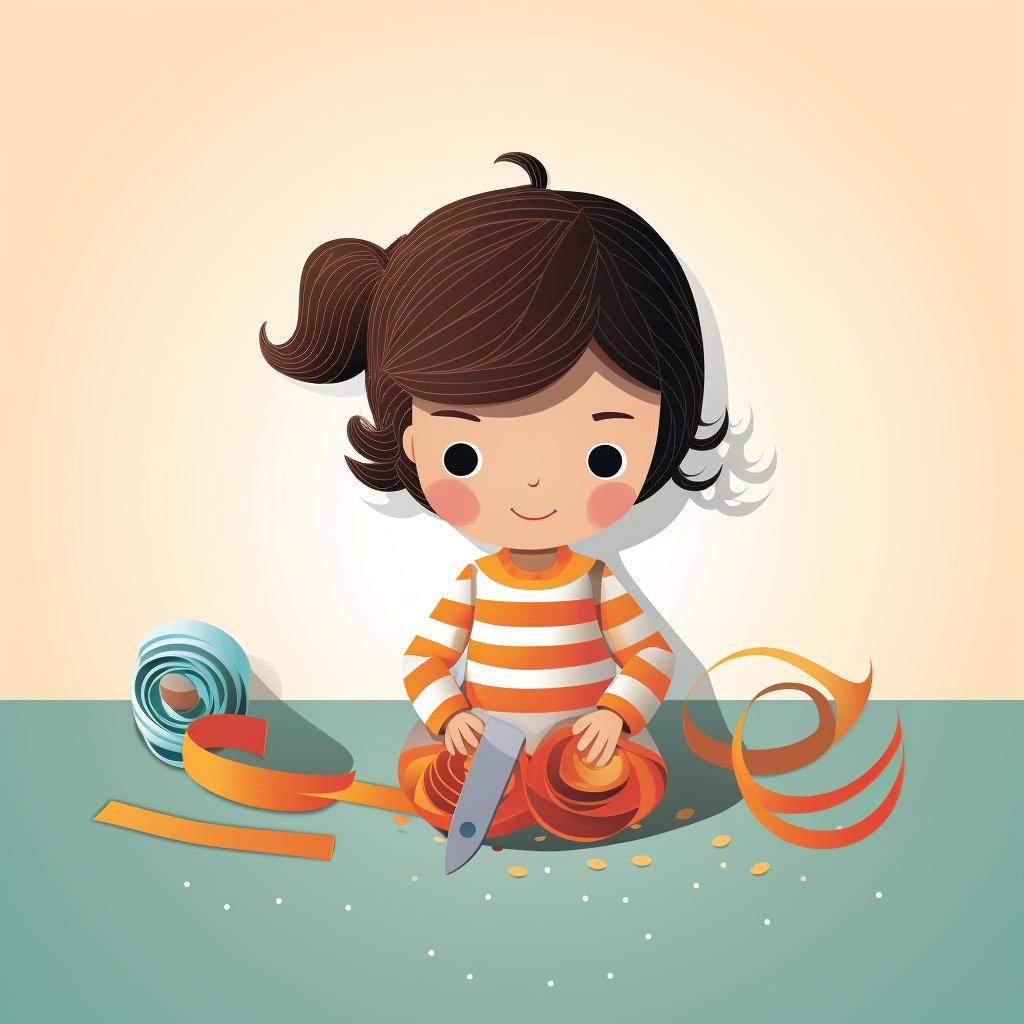

Unleash your child's creativity and let their imagination soar with the art of paper quilling! This ancient craft, which involves rolling, shaping, and gluing strips of paper to create intricate designs, is a fantastic way to engage kids in a fun, hands-on activity. Our Step-by-Step Guide to Creating Kid-Friendly Quilling Patterns is an excellent starting point for young crafters.
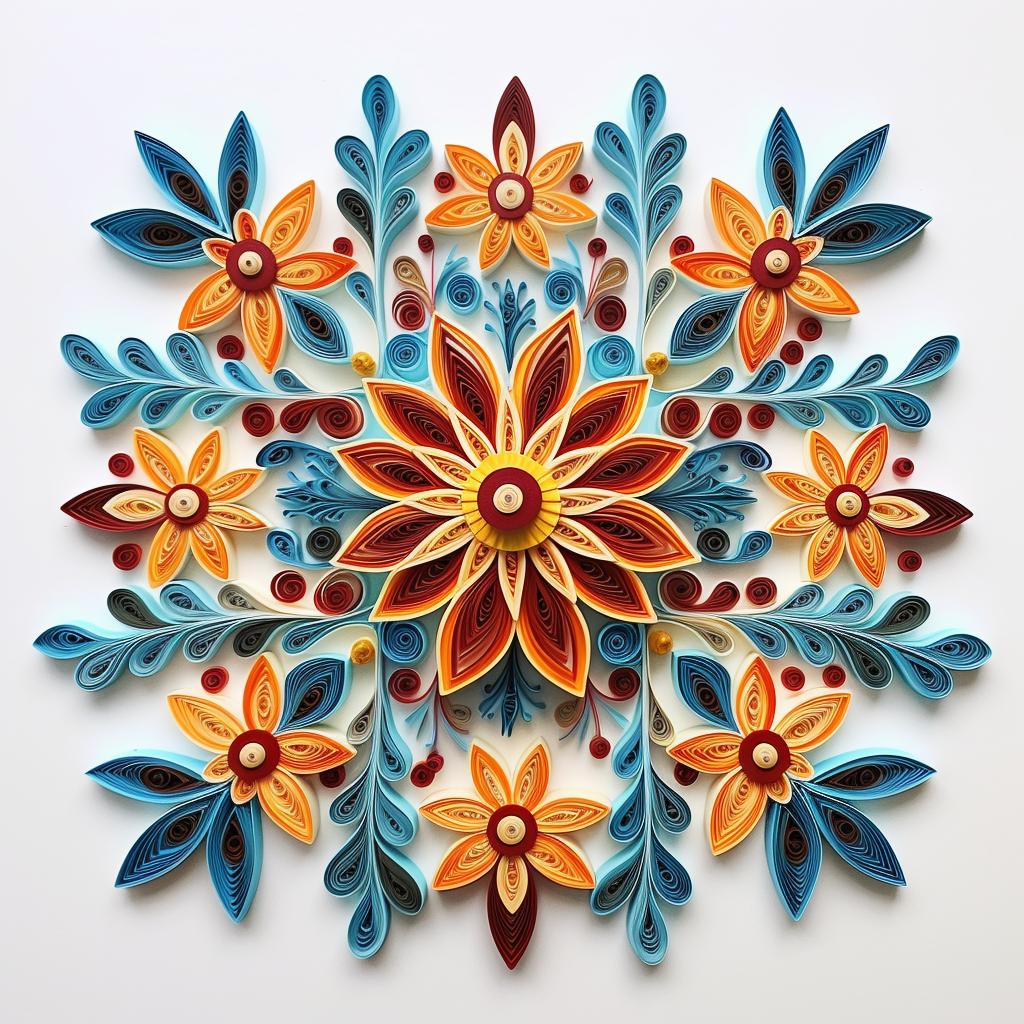
Once your child has mastered the basics, they can explore a world of possibilities. From simple shapes like hearts and butterflies, to more complex designs like flowers and animals, the sky's the limit! For additional inspiration, check out our collection of simple quilling patterns for kids.
Quilling is not just a fun pastime; it's also a great way to develop fine motor skills, patience, and concentration. Plus, the end result is a beautiful piece of art that your child can proudly display or give as a gift. For more unique ideas, our guide on creating quilling greeting cards is a must-read.
At Quilling Pattern, we believe that everyone is an artist. That's why we provide a wealth of resources to help you and your child embark on a creative journey. Whether you're a beginner or an experienced quiller, our comprehensive guide to quilling patterns is designed to inspire and educate.
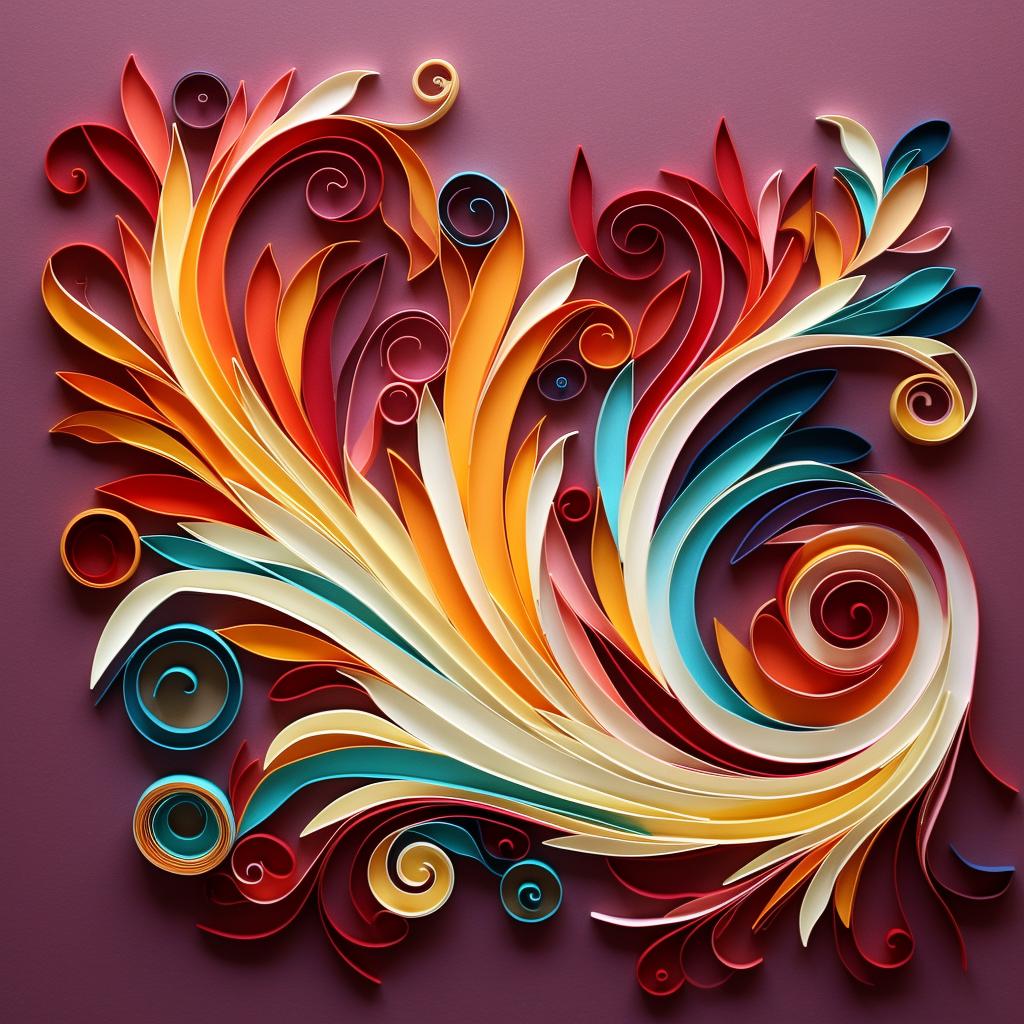
Quilling can be as simple or as complex as you want it to be. With practice, you'll be able to create intricate designs that are truly one-of-a-kind. For those who are ready to take their skills to the next level, our free quilling patterns offer a wealth of ideas and inspiration.
Remember, the most important thing is to have fun and enjoy the process. Happy quilling!
All Rights Reserved © 2025


