Quilling Pattern In-depth Guides on Paper Quilling Patterns

🎨 DIY Quilled Greeting Card: Step-by-Step Guide for Beginners 💌

Learn how to create beautiful quilled greeting cards with our step-by-step guide for beginners. Gather your materials, choose your design, start quilling, arrange your quilled shapes, glue them down, and add finishing touches.

DIY Quilled Greeting Card: A Step-by-Step Guide for Beginners

Materials for quilling arranged on a table
Step 1: Gather Your Materials
You'll need quilling paper, a quilling tool, glue, a blank greeting card, and a pair of scissors. Make sure all your materials are within easy reach before you start.
Hand drawing a simple heart outline on a blank greeting card
Step 2: Choose Your Design
Decide on a simple design for your card. This could be a heart, a flower, or any shape that you're comfortable with. Draw a faint outline of the design on your card as a guide.
Hand using a quilling tool to roll paper into a coil
Step 3: Start Quilling
Using your quilling tool, start rolling your quilling paper into the shapes you need. Remember to apply a small amount of glue at the end to secure the shape.
Quilled shapes arranged on a greeting card in the shape of a heart
Step 4: Arrange Your Quilled Shapes
Once you have enough quilled shapes, start arranging them on your card following the outline of your design. Don't glue them down just yet, just play around with the arrangement until you're happy with it.
Hand applying glue to the back of a quilled shape
Step 5: Glue Your Quilled Shapes
When you're satisfied with your design, carefully apply glue to the back of each quilled shape and stick them onto the card. Let the glue dry completely.
Hand writing a message inside a quilled greeting card
Step 6: Add Finishing Touches
Once the glue is dry, you can add any finishing touches. This could be adding a written message inside the card, or adding some additional decorations on the front.

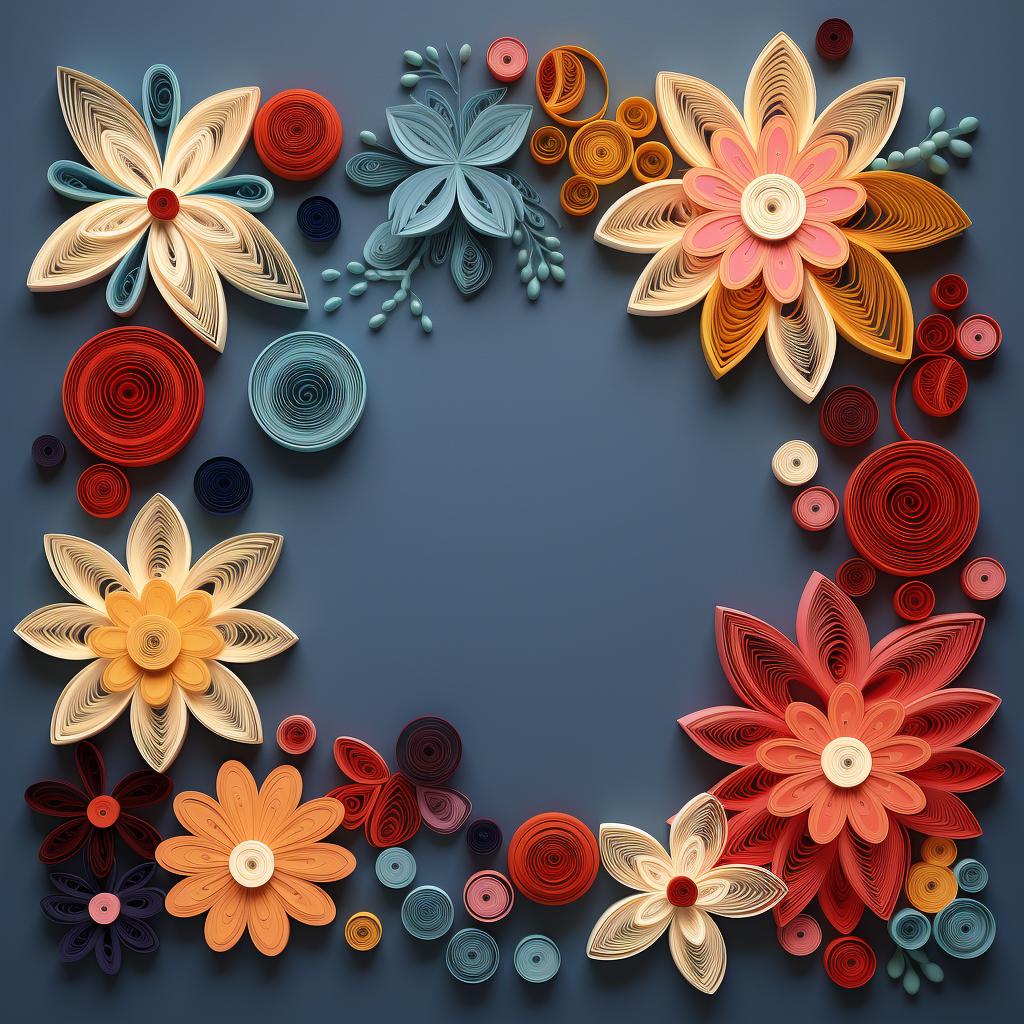
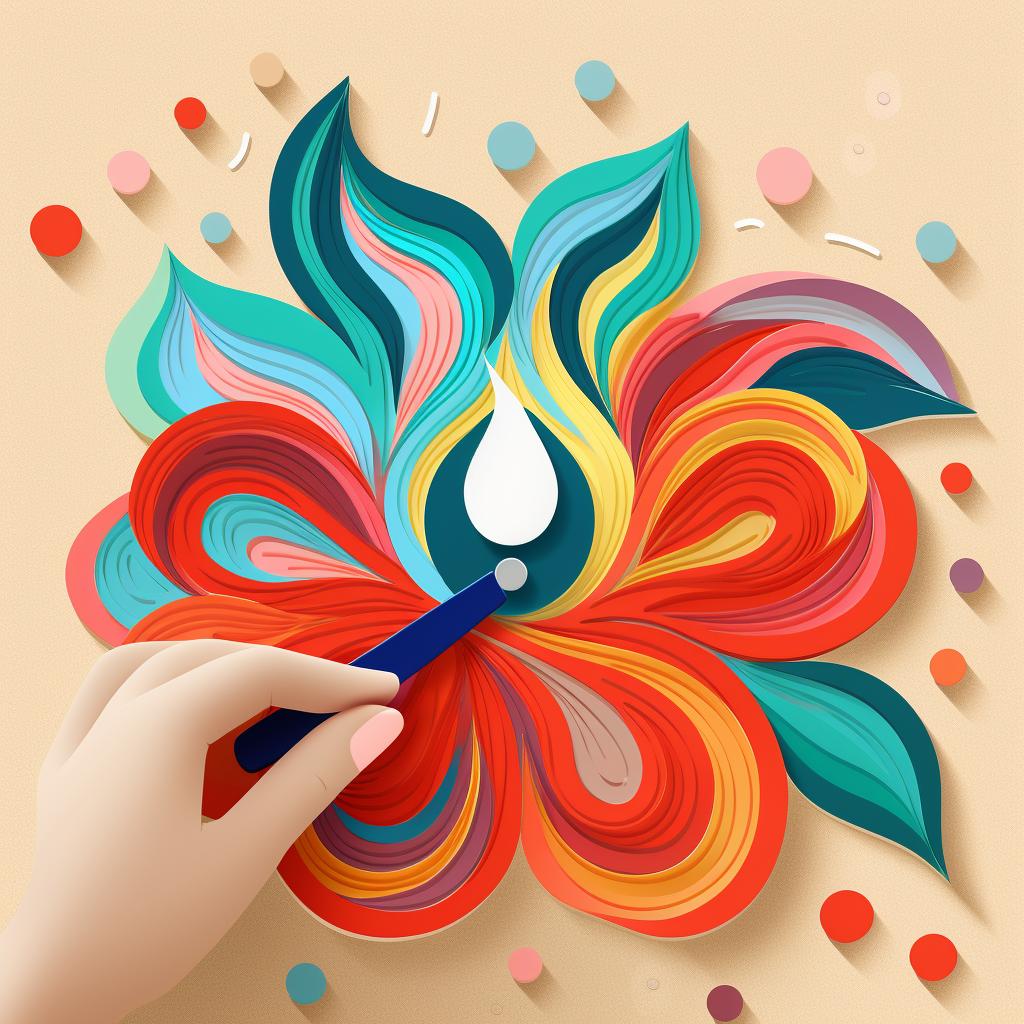
Discover the magic of paper quilling with our step-by-step guide for beginners. This ancient art form, which involves rolling and shaping thin strips of paper to create intricate designs, is a fantastic way to express your creativity. Whether you're crafting a heartfelt greeting card or a unique piece of home decor, quilling allows you to transform simple materials into stunning works of art.

Our DIY guide takes you through the process of creating a quilled greeting card, from gathering your materials to adding the finishing touches. But don't stop there! With quilling, the possibilities are endless. Why not explore our unique patterns and techniques to take your quilling skills to the next level?

Quilling is a versatile craft that can be as simple or as complex as you want it to be. If you're new to quilling, our essential techniques for beginners will help you master the basics. From there, you can start experimenting with different shapes, colors, and designs to create your own unique quilled creations.

Looking for inspiration? Dive into the world of paper quilling artists and discover their inspiring stories, techniques, and creations. Or, if you're feeling festive, why not try our free Christmas quilling patterns for some holiday crafting fun?

Remember, the key to successful quilling is patience and practice. So take your time, enjoy the process, and let your creativity flow. Happy quilling!