Learn more


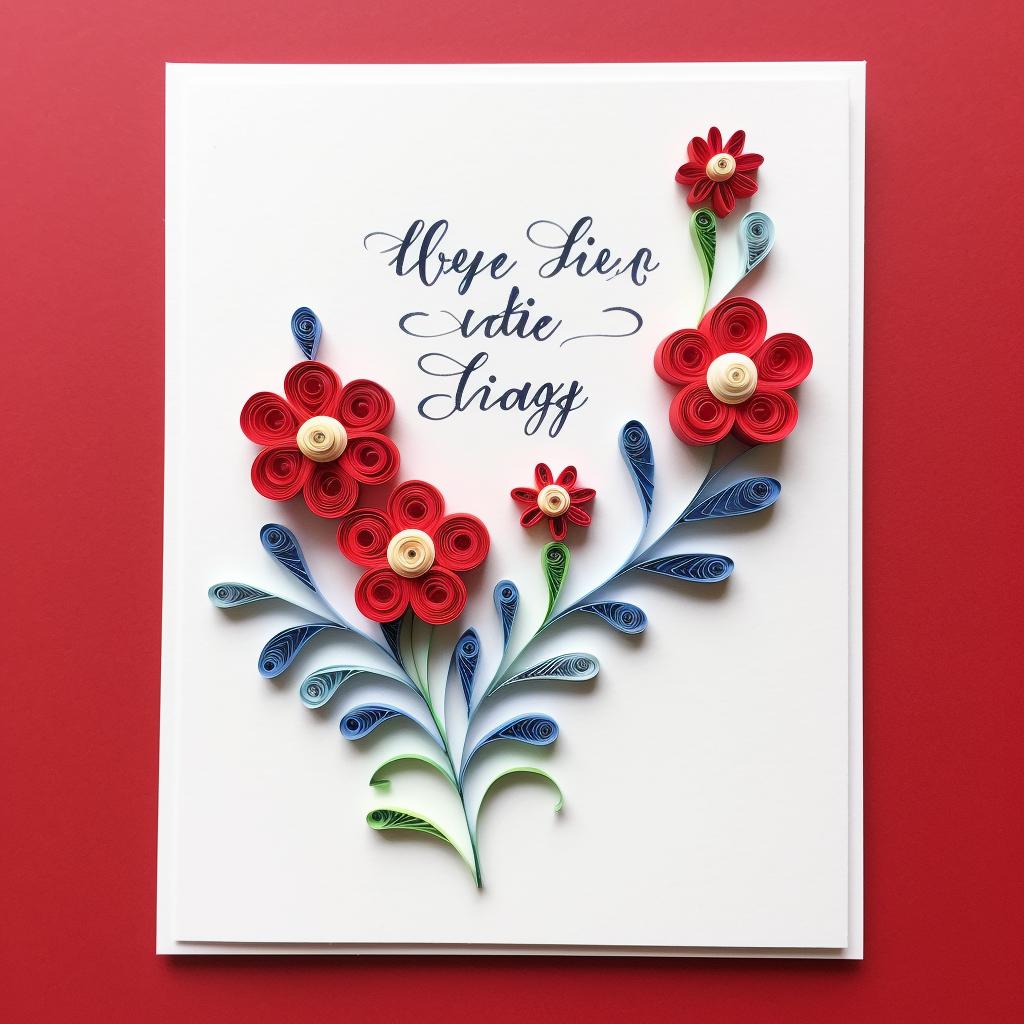
Unleash your creativity and dive into the world of paper quilling! This intricate art form is not only a wonderful way to express your artistic side, but it also allows you to create stunning, personalized greeting cards. With our step-by-step guide, you'll be on your way to mastering this craft in no time.
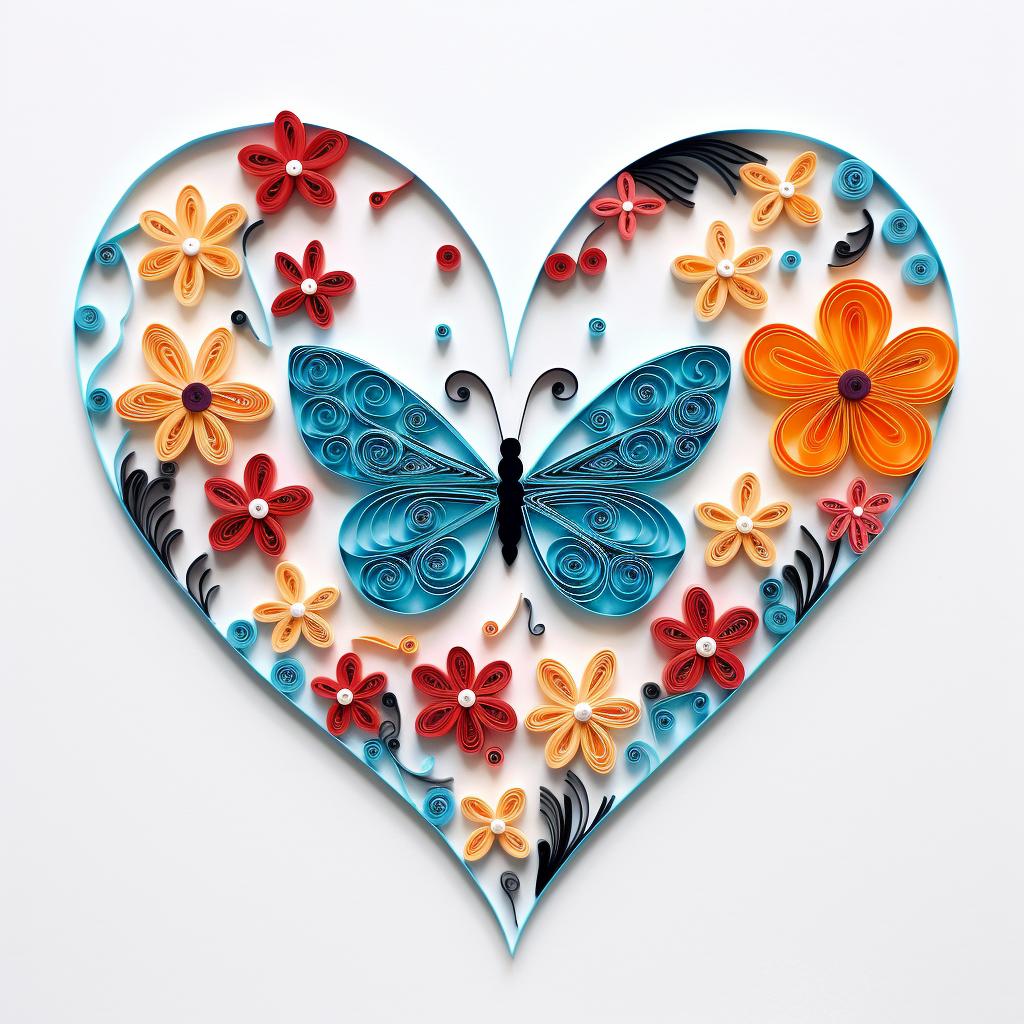
Quilling is a centuries-old art form that involves rolling thin strips of paper into various shapes and using them to create intricate designs. It's a versatile craft that can be used to make everything from beautiful paper quilling flowers to complex landscapes and portraits. But for beginners, creating a quilled greeting card is a great place to start.
Choosing your design is the first step in creating a quilled greeting card. Whether it's a simple heart or a complex flower, the design you choose should reflect your personal style and the message you want to convey. If you're new to quilling, don't worry! We have a plethora of beginner-friendly guides and basic techniques to help you get started.
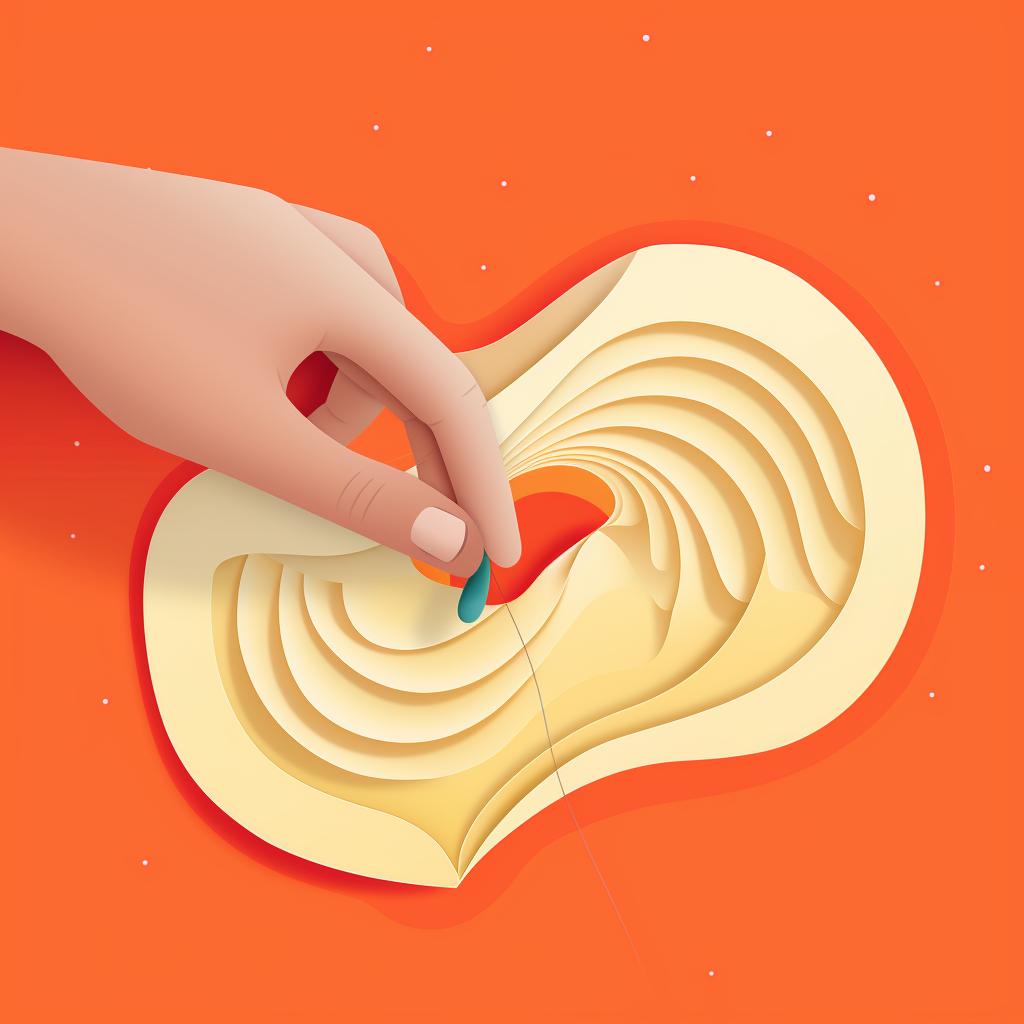
Once you've chosen your design, the real fun begins. You'll need to prepare your quilling strips, create your quilling shapes, and arrange them on your card. This process requires patience and precision, but the end result is worth it. Just remember to let your creativity shine and don't be afraid to experiment with different colors and shapes.
When you're satisfied with your design, it's time to glue your shapes onto the card. This step requires a steady hand and a good eye for detail. Once your card is dry, you can add the finishing touches. This could be a heartfelt message, additional embellishments, or anything else that makes your card truly unique.
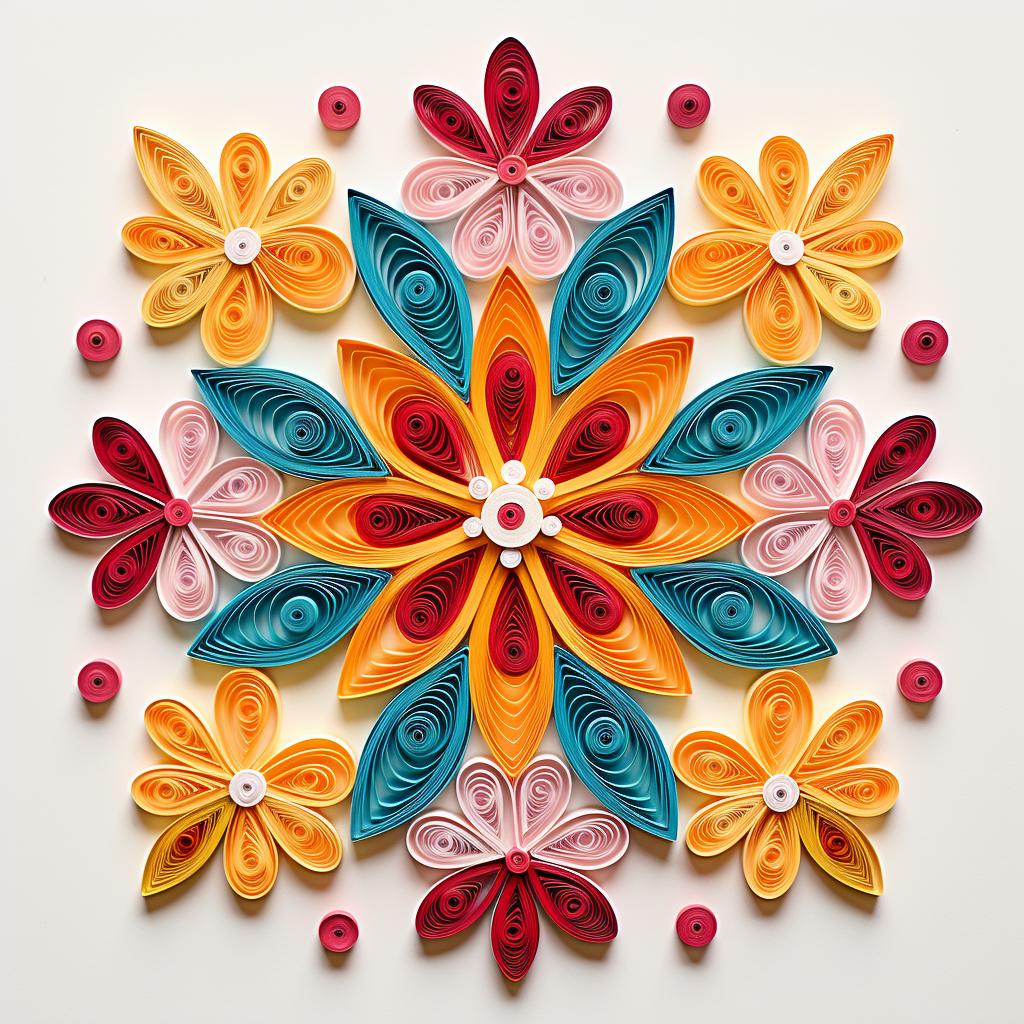
Creating a quilled greeting card is a rewarding process that allows you to express your creativity and make something beautiful. Whether you're making a card for a loved one or simply exploring a new hobby, quilling is a wonderful craft that anyone can enjoy. For more inspiration and ideas, check out our collection of unique patterns and techniques.
Remember, the beauty of quilling lies in its versatility. Once you've mastered the basics, you can start creating your own quilling designs. So grab your quilling tool and start creating!
All Rights Reserved © 2025


