Learn more


Welcome to Quilling Pattern, your ultimate guide to the art of paper quilling. Whether you're a beginner or an experienced quiller, our step-by-step guide will help you create beautiful quilled designs for greeting cards, home decor, and more. Get ready to unleash your creativity and discover the joy of quilling!
Step 1: Choose a Design
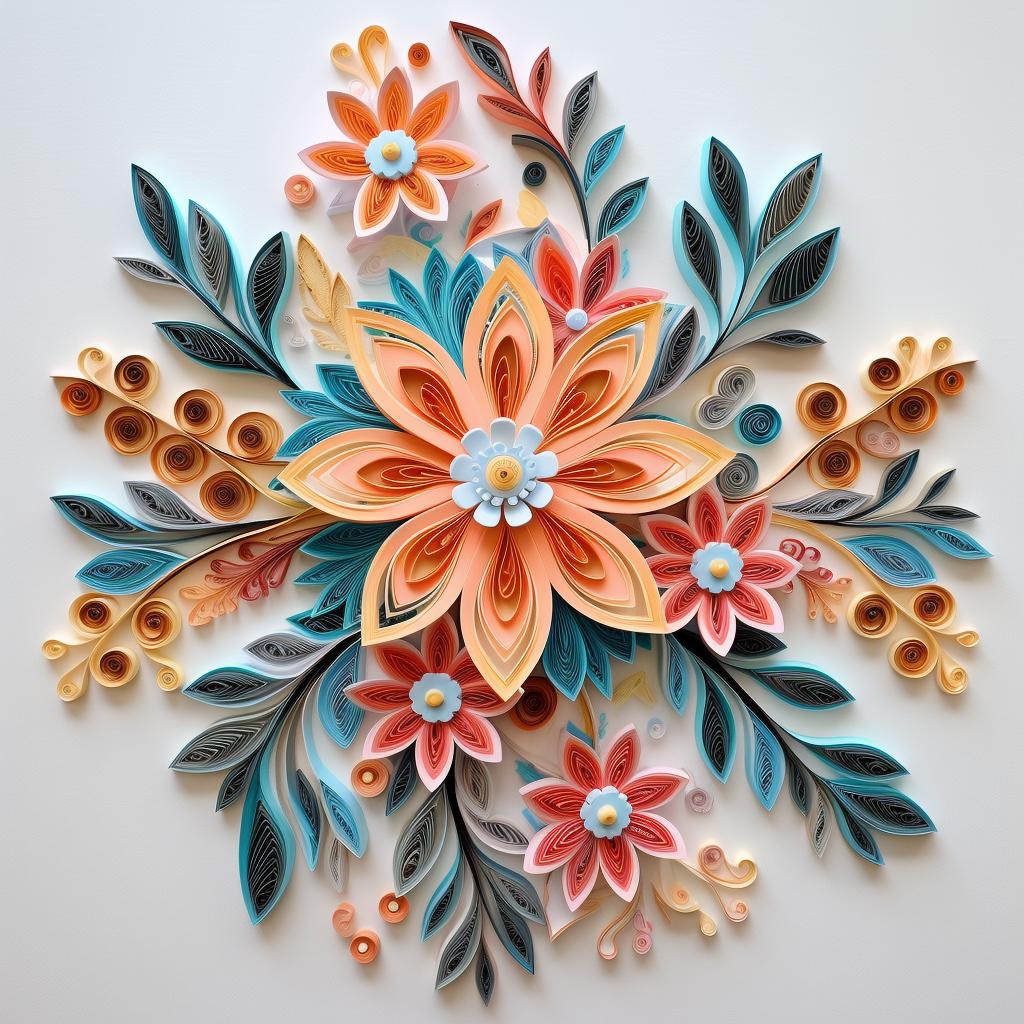
The first step in creating your unique quilling wall art is to choose a design that excites you. From abstract patterns to landscape scenes, portraits, animal silhouettes, floral designs, or geometric patterns, the possibilities are endless. Let your personal style shine through as you select a design that speaks to you.
Step 2: Gather Materials
Once you have your design in mind, it's time to gather all the necessary materials. You'll need quilling paper strips, a quilling tool, glue, and a base for your design, such as a canvas or thick paper. To ensure precision in your quilling, consider having a pair of scissors and tweezers on hand for cutting and handling the paper strips.
Step 3: Create Your Quilling Shapes
Now comes the fun part - creating your quilling shapes! Using your quilling tool, roll and shape the paper strips according to your chosen design. Whether you're making tight coils, loose coils, scrolls, or any other quilling shapes, let your imagination run wild. Experiment with different techniques and combinations to bring your design to life.
Step 4: Arrange and Glue Your Design
Once you have all your quilling shapes ready, it's time to arrange them on your chosen base. Take your time to ensure everything is positioned correctly, paying attention to the composition and balance of your design. Once you're satisfied, carefully glue each piece down and allow it to dry completely. This step is crucial to ensure the longevity of your quilled artwork.
Step 5: Mount and Display Your Art
Congratulations, you've completed your quilling masterpiece! Now it's time to showcase your artistry. Mount your quilled design on a wall or place it in a frame to display it proudly. Admire the intricate details and unique textures that make your quilling wall art truly one-of-a-kind. Let it serve as a reminder of your creativity and passion for the art of quilling.
Quilling Pattern is here to inspire and guide you on your quilling journey. With our collection of patterns, supplies, and ideas, you'll never run out of inspiration. Explore our website to discover more quilling techniques, tips, and tricks. Unleash your creativity and create beautiful quilled designs that will leave a lasting impression. Start quilling today and let your imagination soar!
All Rights Reserved © 2025


