Learn more

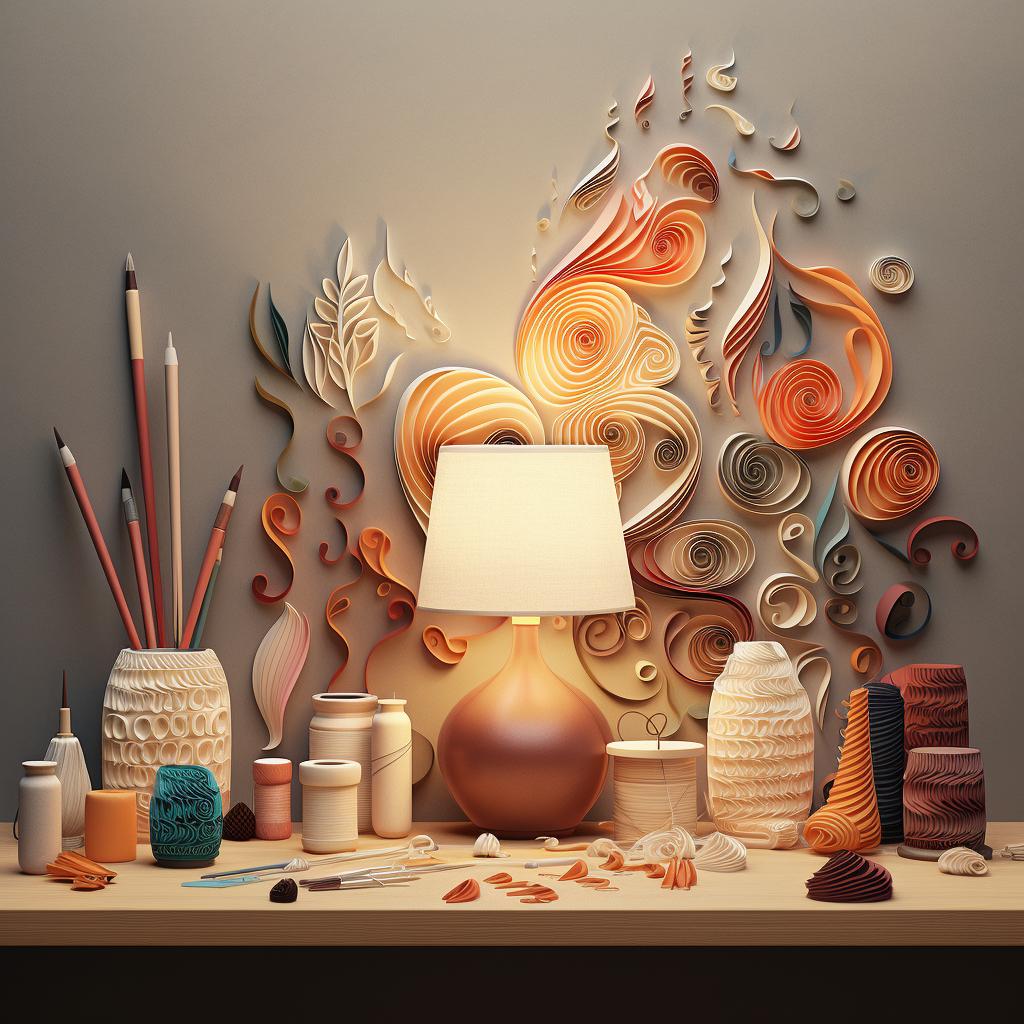


Unleash your creativity and transform ordinary household items into extraordinary pieces of art with our step-by-step guide to crafting a quilled light shade. This unique project not only enhances your quilling skills but also adds a personalized touch to your home decor. Let's dive into the world of quilling and explore the endless possibilities it offers.
Quilling, an art form that involves the use of strips of paper that are rolled, shaped, and glued together to create decorative designs, is a versatile craft that can be adapted to create a wide range of items. From intricate jewelry to stunning wall art, the possibilities are endless. And with our guide, you can now add light shades to the list!
Before you start, make sure you have all the necessary quilling supplies on hand. This includes quilling paper, a quilling tool, glue, scissors, tweezers, and a plain light shade. If you're new to quilling, don't worry. Our guide will walk you through each step of the process, ensuring you have a fun and successful crafting experience.
Creating your own design is a crucial part of the process. This is where you can let your imagination run wild and create a design that reflects your personal style. If you're looking for inspiration, check out our comprehensive guide to quilling patterns.
Once your design is ready, it's time to start quilling. This involves rolling and shaping your paper strips to match your design. If you're unsure how to create different shapes, our beginner's guide to mastering the art of paper quilling can help.
After you've quilled all your pieces, you can start applying them to the light shade. This process requires patience and precision, but the end result is well worth the effort. And remember, practice makes perfect. So, don't be discouraged if your first attempt doesn't turn out exactly as you envisioned. Keep trying, and with each attempt, you'll see improvement.
So, are you ready to embark on this creative journey? Grab your quilling supplies, follow our guide, and create a stunning quilled light shade that will be the talk of the town.
All Rights Reserved © 2025


